Pixels
Pick a resolution preset or enter the width and height. Choose Stretch, Fit inside or Fit outside to control how the image fits the target frame.
For a specific delivery size.
Classic resampling filters, powered by your GPU.
Choose the method that fits your image.
GPUResize 2 works in Premiere Pro and DaVinci Resolve, plus After Effects. Resolve setup: included Fusion macro ↗
Classic resampling methods familiar from scientific imaging.
From Bilinear and B-Spline to Mitchell, Lanczos and Kaiser.
| Filter | Where it comes from, what it does | Pick it for |
|---|---|---|
| Nearest | Copies the single closest source pixel, so no new colors ever appear. Blocks stay blocks, which is exactly what masks, pixel art and index-like data want. | Masks, exact values |
| Bilinear | The blend every GPU has done for textures since the 1990s: mix the four nearest pixels, first across, then down. Fast and smooth, but fine detail turns soft. | Previews, quick scaling |
| Area | Each output pixel is a bucket that averages every source pixel underneath it. Nothing tames fine patterns and moiré better on the way down; on the way up it has nothing to average and quietly turns into Bilinear. | Downscaling texture |
| Triangle | The “tent” filter: weights fall off in a straight line from the center. At enlargement it is Bilinear by another name; when shrinking, the tent widens to cover every pixel being merged. | Soft downscaling |
| Bell | A box filter blurred by itself twice, giving a bell-shaped curve often mistaken for a Gaussian. It smooths more than it sharpens. | Gentle, low-noise looks |
| B-Spline | Named after the flexible strip draftsmen bent around pins to draw ship hulls. Its weights never go negative, so it is the one cubic here that cannot ring; the price is lost fine texture. | Zero halos |
| Catmull-Rom | Edwin Catmull went on to co-found Pixar, and the spline that bears his name also steers camera paths in animation. As a resize filter it is crisp, with light halos at hard edges. | Crisp graphics |
| Mitchell | In 1988 Mitchell and Netravali had viewers rate blur, jaggies and ringing, then picked the cubic that annoyed them least. That compromise is still the safest starting point for photos. | Safe default, photos |
| Kaiser | Jim Kaiser designed his window at Bell Labs in the 1960s; audio engineers resample sound with the same shape. Here it tapers a sinc, trading a little of Lanczos’s bite for calmer edges. | Lanczos with less ringing |
| Lanczos 3 | Cornelius Lanczos spent a year as Einstein’s assistant; the filter got his name in a 1979 meteorology paper by Claude Duchon. Three lobes of sinc: the “high quality” default in many tools, halos included. | Sharp all-rounder |
| Lanczos 4 | One more lobe than Lanczos 3, so each output pixel looks at a wider ring of neighbors. Slightly more detail, slightly more ringing, more work per pixel. | Fine texture |
| Lanczos 6 | Six lobes, not version six. At this width the negative weights that keep detail also make halos plainly visible; treat it as a comparison point, not a default. | Detail experiments |
| EWA LanczosSharp | “Elliptical Weighted Average”: instead of filtering rows then columns, it samples a circle or ellipse around each output pixel. Nicolas Robidoux sharpened the Lanczos curve to suit that footprint; diagonals and unequal X/Y scaling are where it shows. | Diagonals, uneven scale |
| FSR 1 EASU | AMD’s Edge-Adaptive Spatial Upsampling, open-sourced in 2021 to upscale games in real time. It reads local edge direction and rebuilds contours along it. | Clean-edged upscaling |
| Pixel - Scale2x | Andrea Mazzoleni wrote it for AdvanceMAME in 2001; LucasArts had used the same rule, EPX, to port games in 1992. It rounds staircase steps by copying neighbors, never inventing colors. | Pixel art at 2x, 3x |
| Pixel - Eagle | A late-1990s emulator filter that rounds corners by comparing three neighbors. Letters and single-pixel details can blob together. | Retro sprites |
| Content-Aware | Changes where content goes rather than how neighbors blend: an importance map decides which areas may be squeezed. Protect alpha makes transparency boundaries count too. | Changing aspect ratio |
Compare Nearest, Scale2x, Eagle and FSR 1 EASU on the same pixel artwork. Choose a method on each side and drag to explore the edges.
Explore how Bilinear and Area handle a reduction.
The right choice depends on the image and the task.
Compare sharpening off, RCAS and Unsharp Mask after the same resize. Choose 50% or 100% on either side. Sharpening changes local contrast; judge the texture and edges together.
A whole resize sequence. One Iterations control. Stair-step scaling — also called incremental resizing — breaks an upscale or downsample into smaller steps. Explore up to 16 GPU-accelerated passes without stacking effects or scripting intermediate sizes.
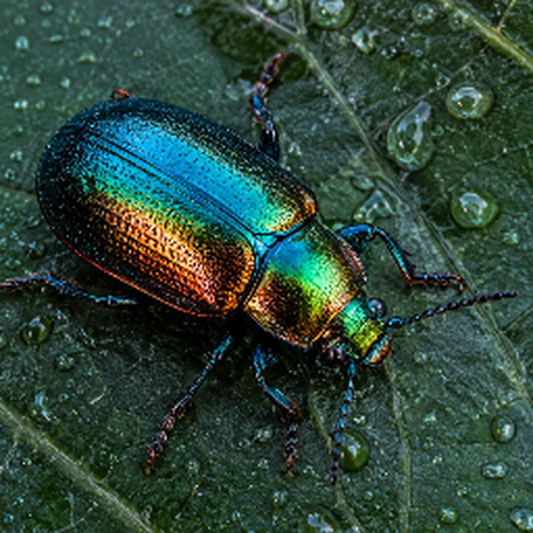
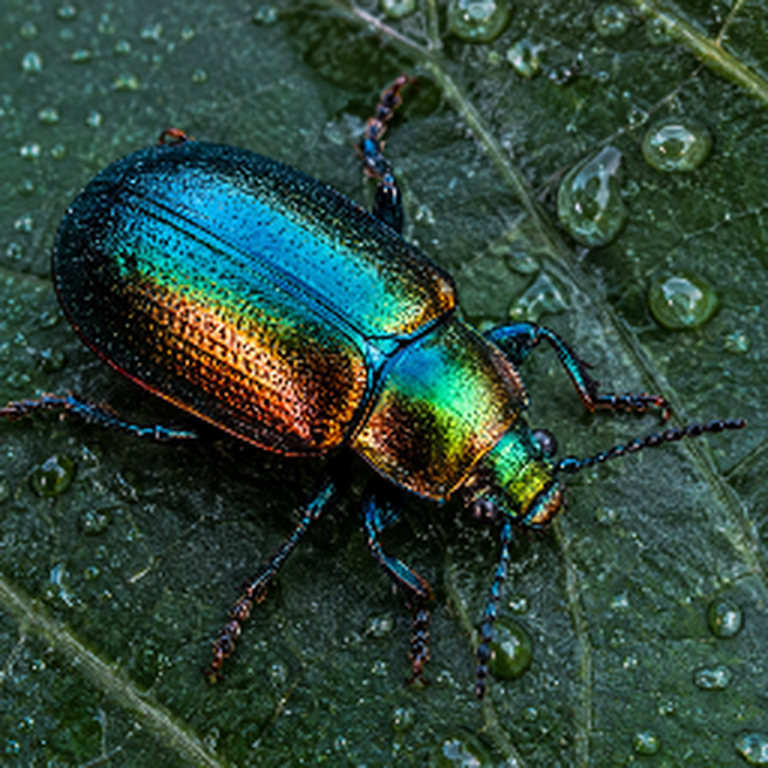
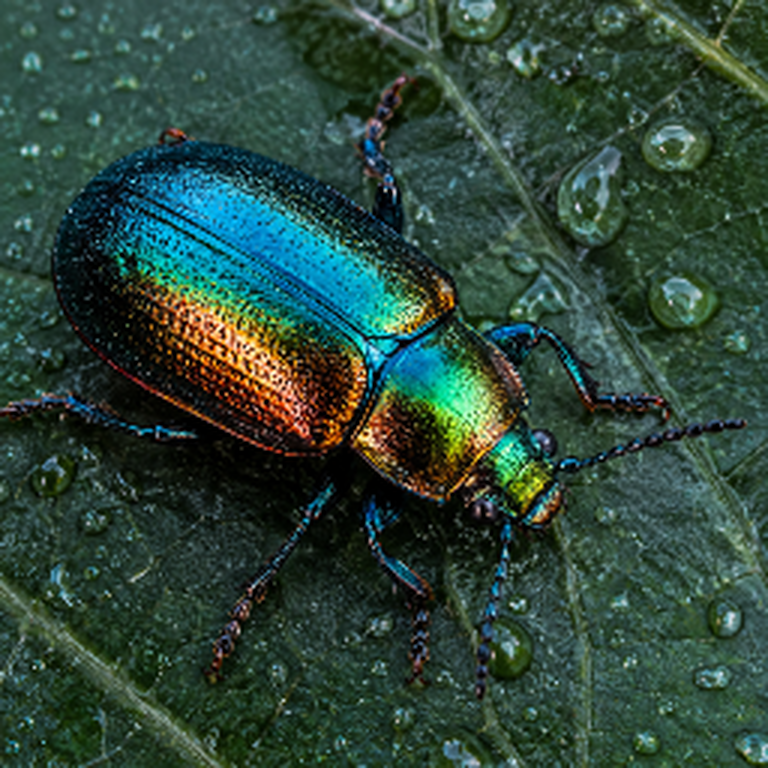
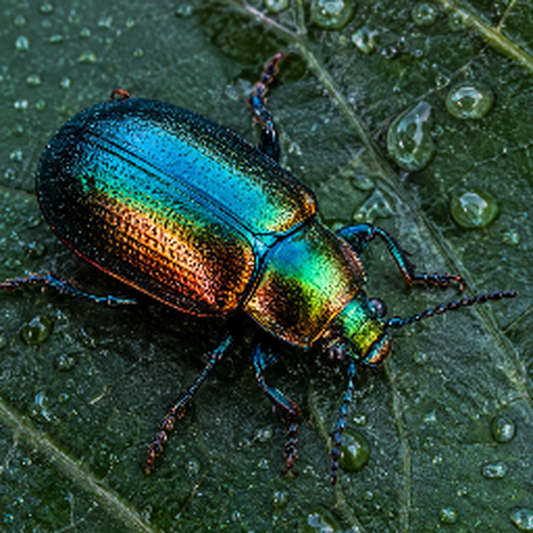
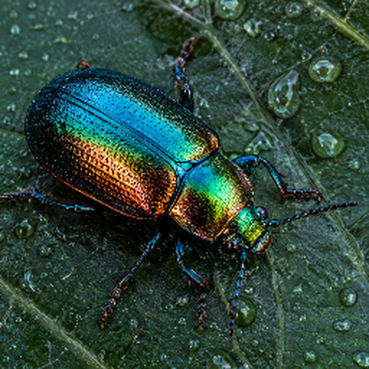
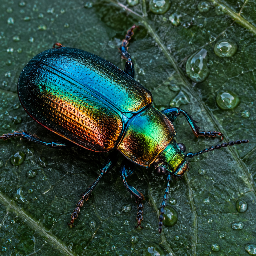
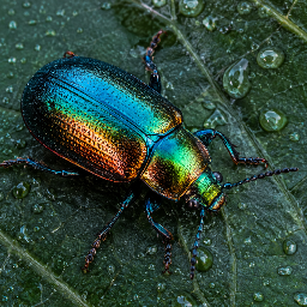
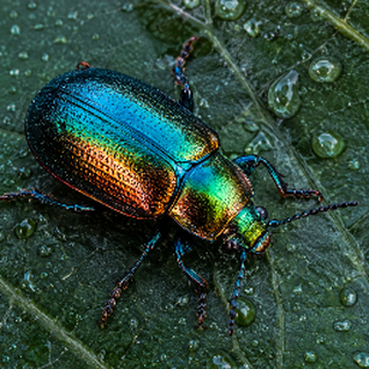
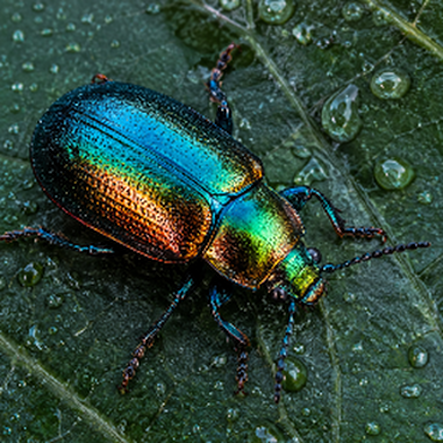
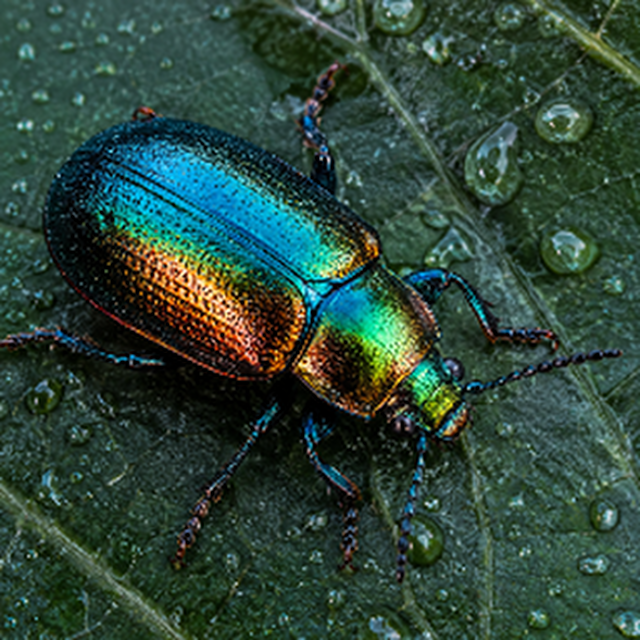
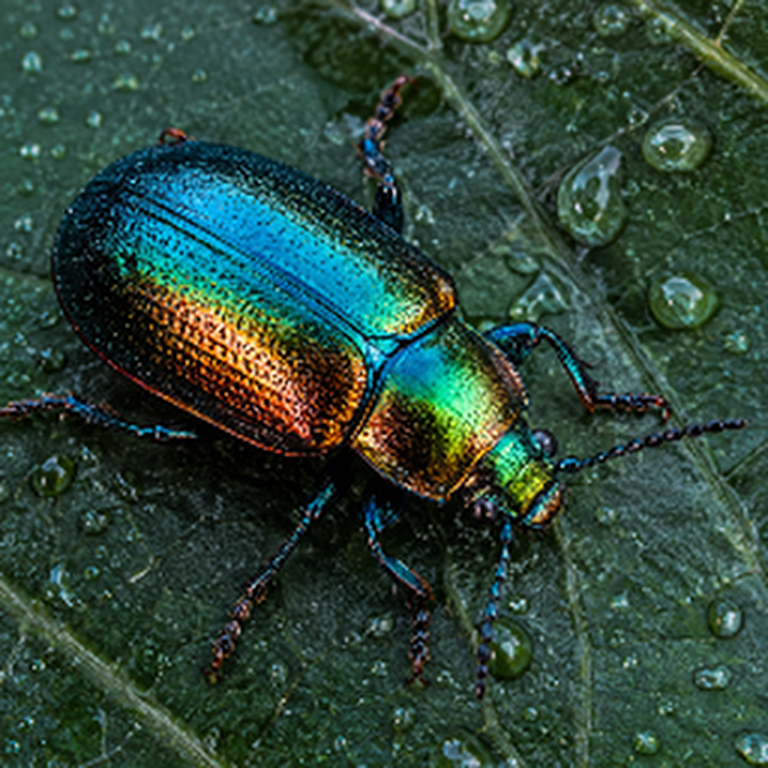
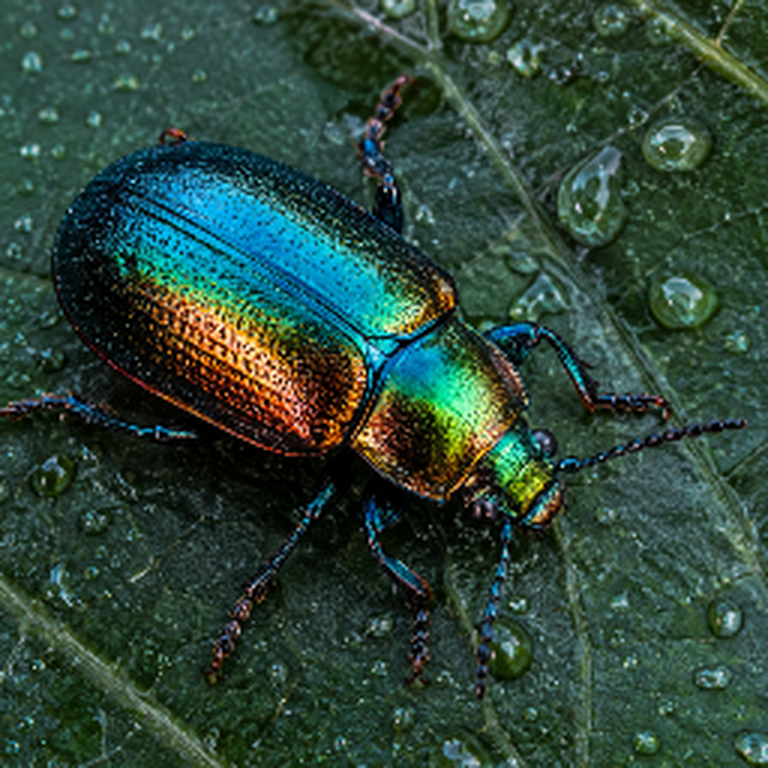
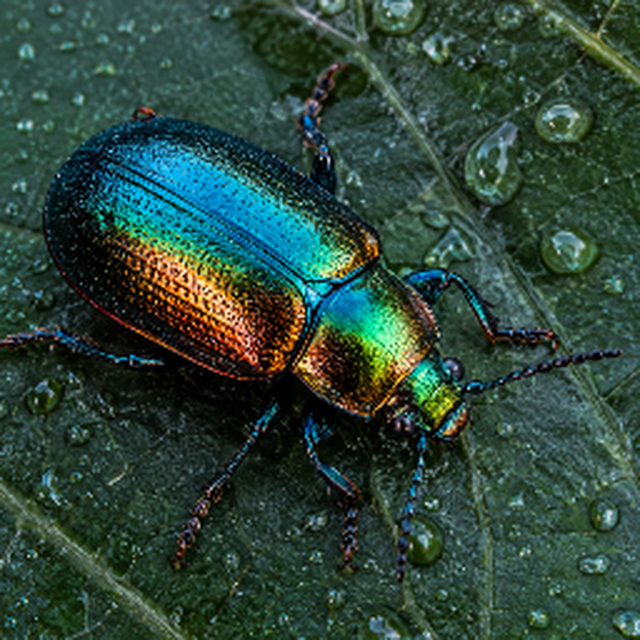
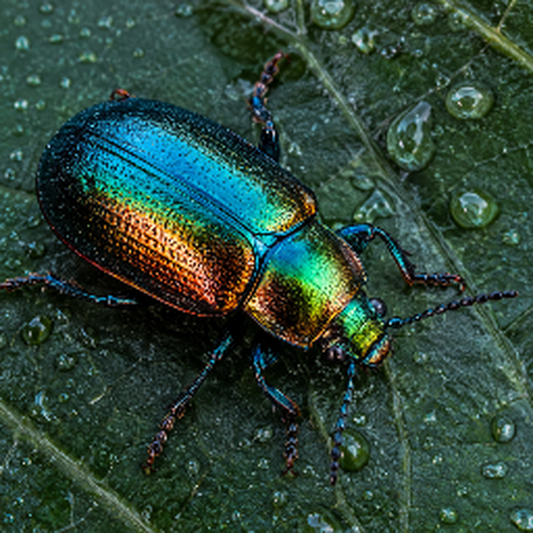
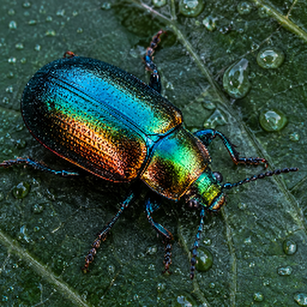
Reduce in stages · Bilinear · 1536 → 256 px
Large reductions can turn fine lines and repeating patterns into aliasing or moiré. Try several smaller reductions and watch how those patterns change. This Bilinear example makes the difference visible; also compare a single-pass Area downsample in the filter demo above.
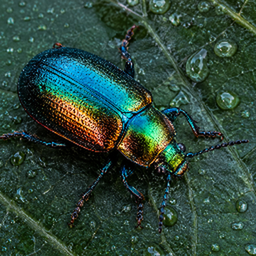
Enlarge in stages · Lanczos 3 · 256 → 768 px
For HD to 4K upscaling or a larger enlargement, stairstep gives you another way to shape the result. Compare edge smoothness, ringing (halos) and fine texture: repeated filtering can soften detail as well as change contours. It does not recover detail missing from the source.
Judge the shot, not the pass count. Check at 100% output size and in motion at your delivery resolution. Extra local contrast can look sharper without adding detail, and some filters can build up halos over repeated passes. Keep the source, filter and working color space consistent when comparing. Then compare single-pass resizing with post-resize sharpening, too. These previews are scaled to fit your screen.
Push Content Aware into expressive distortions. Sweep multipass from 1 to 16 and back while the output dimensions stay fixed. Let the image bend, stretch and shift.
Output: 384 × 512 → 192 × 512, displayed at the original width for comparison. Footage: Ron Lach / Pexels.
Choose exact dimensions, scale relative to the source, or place each corner independently.
Pick a resolution preset or enter the width and height. Choose Stretch, Fit inside or Fit outside to control how the image fits the target frame.
For a specific delivery size.
Scale relative to the source dimensions. Set width and height percentages independently: double both dimensions, reduce them by half, or stretch just one axis.
For the same relative resize across different source sizes.
Move the four corners independently to stretch, skew or add perspective. Choose the resampling filter for the transformed image.
For perspective adjustments and creative distortion. Iterations resizes in steps toward the output bounding box, then applies one bilinear warp. Repeated sizes are skipped; the corner mapping stays the same.

CHOOSE YOUR SIZE MODE
Iterations requests up to 16 resize stages. Repeated sizes are skipped. In Free Distort, the corner mapping stays the same for every iteration count.
Choose your output mode. Set dimensions in pixels, scale by percentage, or reshape with Free Distort.
Multipass downscale. Reduce through intermediate sizes.
Stairstep upscale. Enlarge in progressive steps.
Post-sharpen. Finish with optional RCAS or Unsharp Mask.
Choose your settings, compare the results—no single filter suits every image.
Read the manual